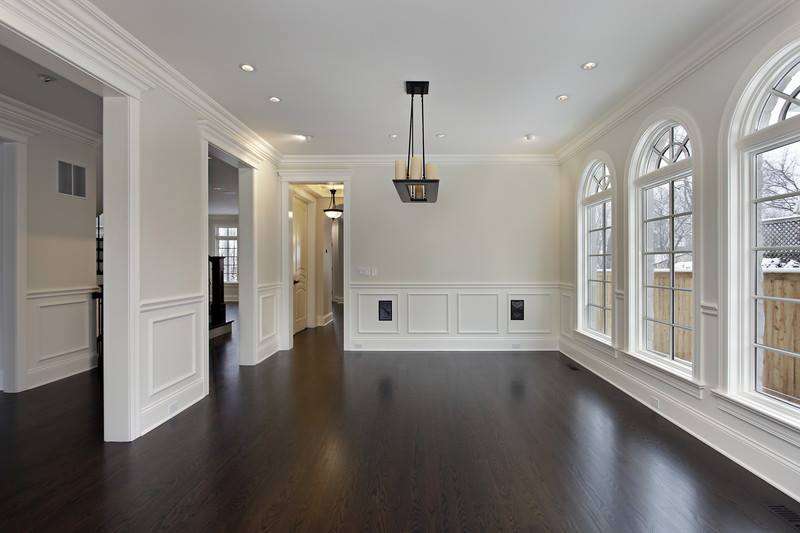
Are your hardwood floors looking dull and worn? Sanding and refinishing them can bring back their original beauty while extending their lifespan. In this guide, we’ll walk you through the steps to successfully sand and refinish hardwood floors, ensuring you achieve a professional-quality finish.
Why Sand and Refinish Your Hardwood Floors?
Before diving into the process, it’s important to understand why sanding and refinishing your hardwood floors is essential. Over time, hardwood floors can become scratched, scuffed, and discolored due to foot traffic and environmental factors. Refinishing not only enhances their appearance but also protects the wood from further damage and improves your home’s aesthetic value.
What You Will Need
To sand and refinish hardwood floors, gather the following tools and materials:
- Floor sander (orbital or drum sander)
- Sanding pads (various grits – 36, 60, 80, and 120)
- Vacuum cleaner with a HEPA filter
- Wood stain (optional)
- Polyurethane finish (water-based or oil-based)
- Brushes and rollers
- Floor buffer
- Safety gear (dust mask, goggles, knee pads)

Steps to Sand and Refinish Hardwood Floors: A Comprehensive Guide
1. Prepare the Area
Before starting, clear the room of all furniture and rugs. Ensure proper ventilation by opening windows and using fans. Cover any vents or doorways with plastic sheeting to minimize dust spread.
2. Inspect and Repair
Check the hardwood floors for any damaged boards or nails that may be protruding. Replace or repair any damaged planks using wood glue or nails to avoid problems during sanding.
3. Start with Coarse Sanding
Using your floor sander, start with coarse sanding pads (36-grit). Sand the entire floor in the direction of the wood grain. Take your time and ensure even coverage. Once complete, vacuum the dust thoroughly.
4. Progress to Finer Grains
After the initial sanding, switch to a finer grit (60-grit). Repeat the sanding process, followed by vacuuming. Continue this progression with 80-grit and finally 120-grit pads to achieve a smooth surface.
5. Clean the Floors
Post-sanding, clean the floors again to remove all dust particles. Use a vacuum followed by a damp cloth to ensure no sanding dust remains, which can affect the finish.
6. Stain (Optional)
If you wish to add color or enhance the natural beauty of your hardwood floors, apply a wood stain. Use a brush or roller to evenly apply the stain, following the wood grain. Let it dry completely before moving on to the next step.
7. Apply the Finish
Once your stain has dried, it’s time to apply the polyurethane finish. Choose between water-based or oil-based poly, depending on your preference. Use a clean brush or roller to apply an even coat. Allow it to dry according to the manufacturer’s instructions and lightly sand with a fine-grit pad in between coats for a smooth finish. Typically, two to three coats are recommended.
8. Final Touches
After the last coat of finish has dried, remove any dust and debris one last time. Once the finish has fully cured (usually a week for oil-based and 24-48 hours for water-based), you can move your furniture back in carefully.
Tips for Success
- Test in a Small Area: Always test your stain and finish on a small, inconspicuous area before proceeding.
- Walk on the Floors Carefully: After refinishing, avoid heavy foot traffic for at least 24 hours and avoid dragging furniture for at least a week.
- Maintain Your Floors: Regular cleaning and maintenance will help preserve the finish and beauty of your hardwood floors.
Conclusion
Sanding and refinishing hardwood floors can be a rewarding DIY project that significantly enhances your home’s interior. With the right tools, patience, and attention to detail, you can restore your hardwood floors to their former glory. Whether you’re preparing to sell your home or just want to enjoy a beautiful living space, refinishing your hardwood floors is a worthwhile investment. Happy refinishing!


0 Comments